Smart Textiles Design Lab Blog at The Swedish School of Textiles
Goldwork techniques for E-embroidering. Part 2
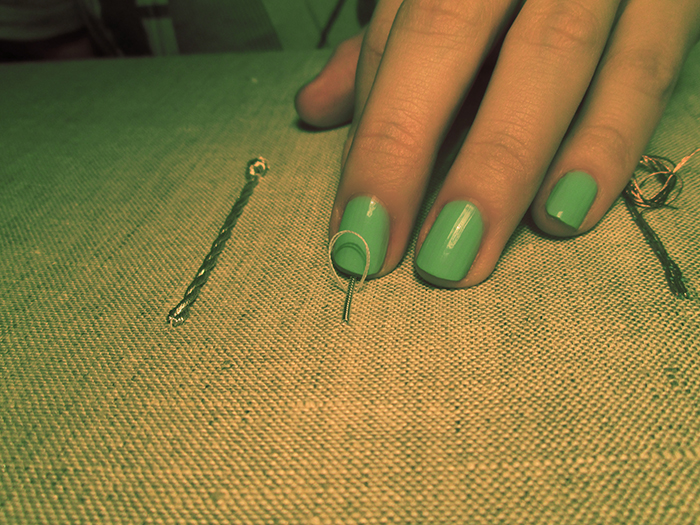
Conductive Twisted Cord
Twisted Cords are often used in the traditional goldwork. Conductive Twisted Cord is a fine example of mixing traditional techniques with modern materials. This technique allows quickly and securely connect electronics in an aesthetical manner.
Making the Conductive Twisted Cord
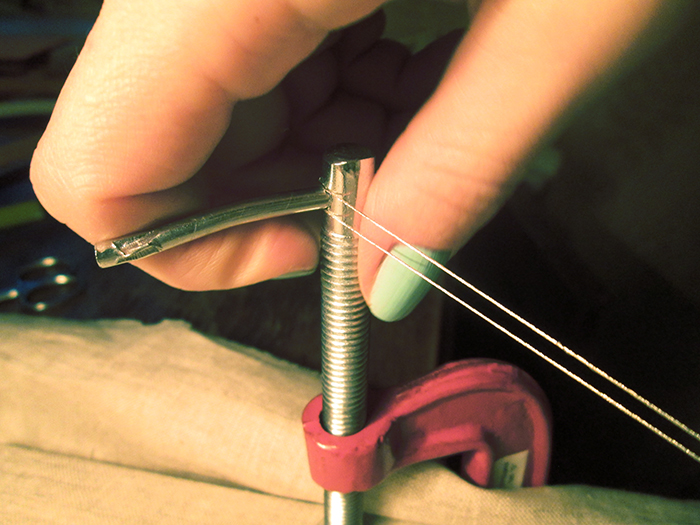
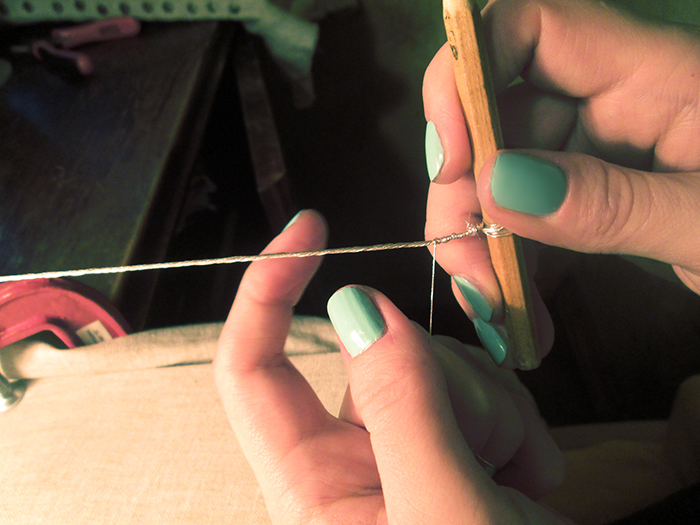
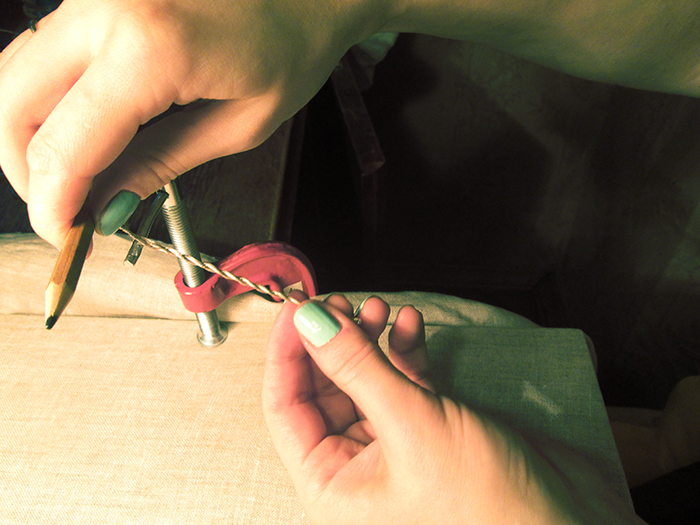
Fold the conductive thread in half and place the loop on a nail or any nail-like object to hold it firm.
Tie both ends of the conductive thread to the pencil.

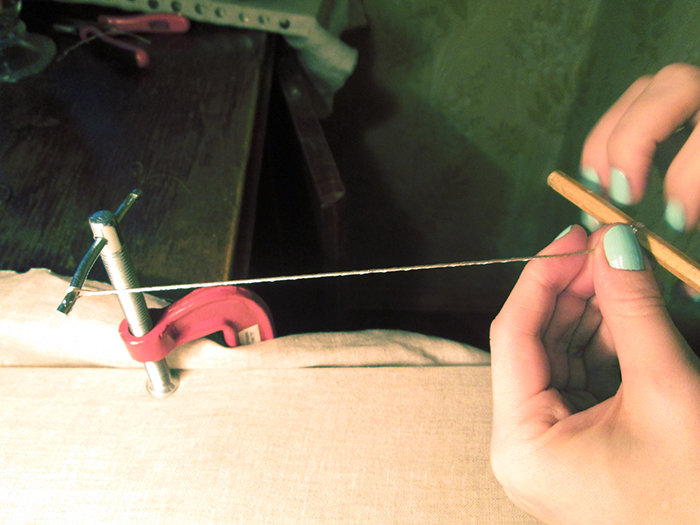
Distance the pencil form the nail until the threads are tight.
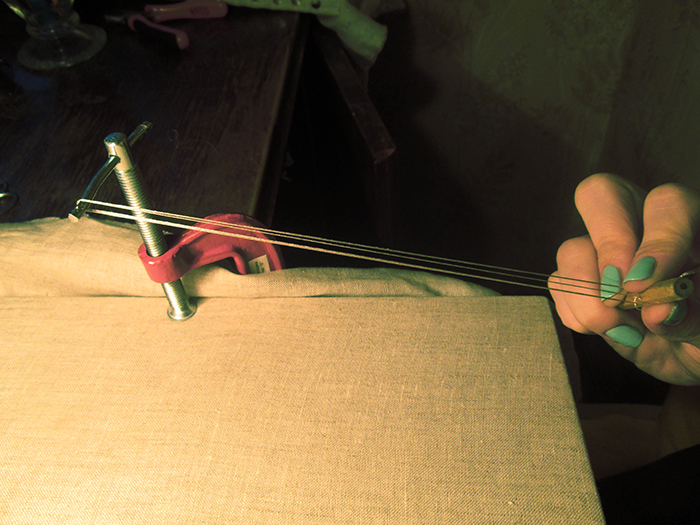
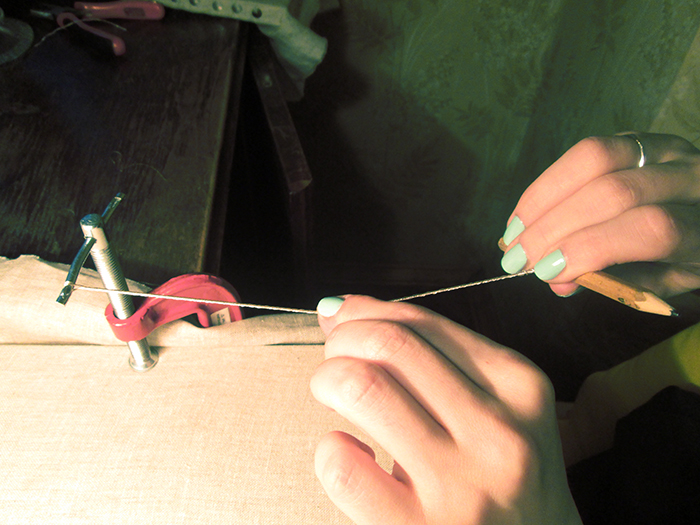
Start rotating the pencil.
Twist the conductive threads until they look solid.
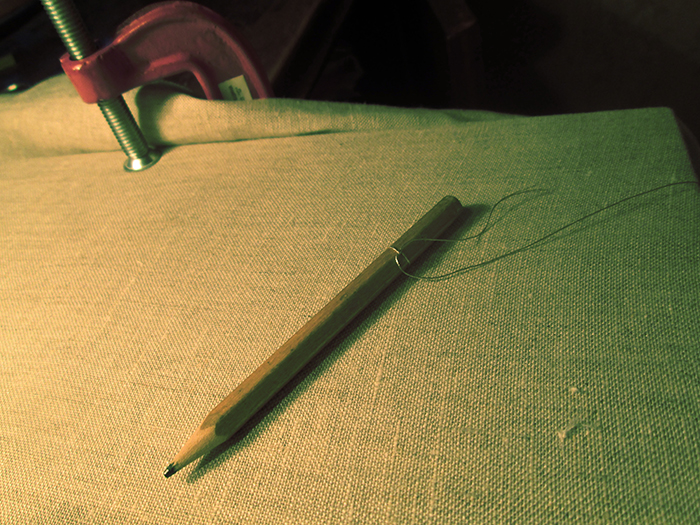
Gently fold the twisted threads in the middle.
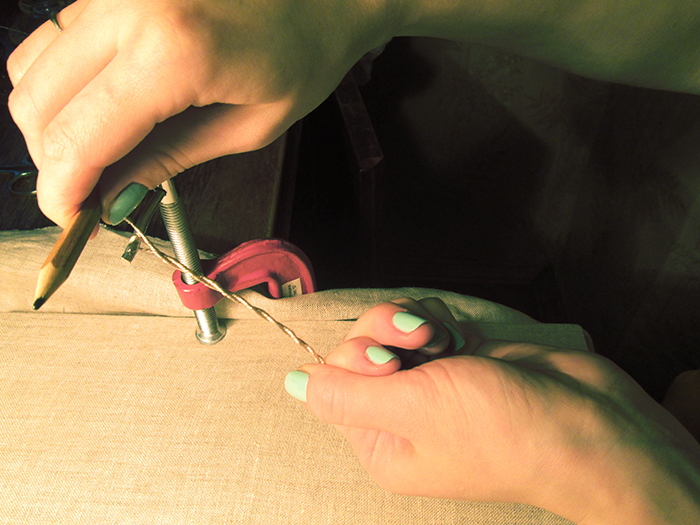
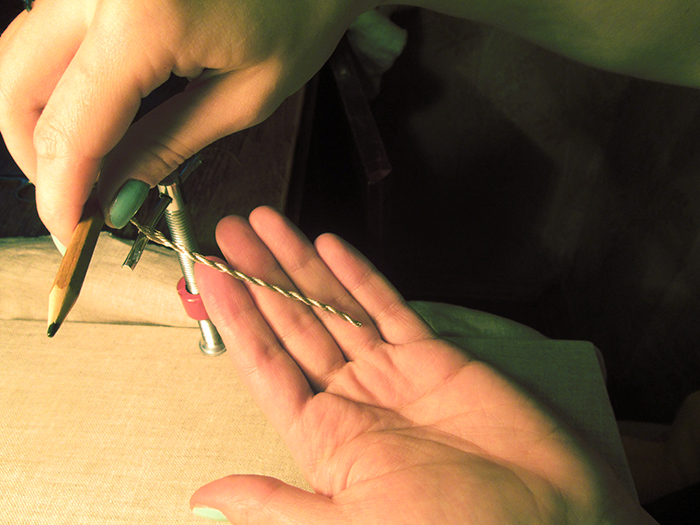
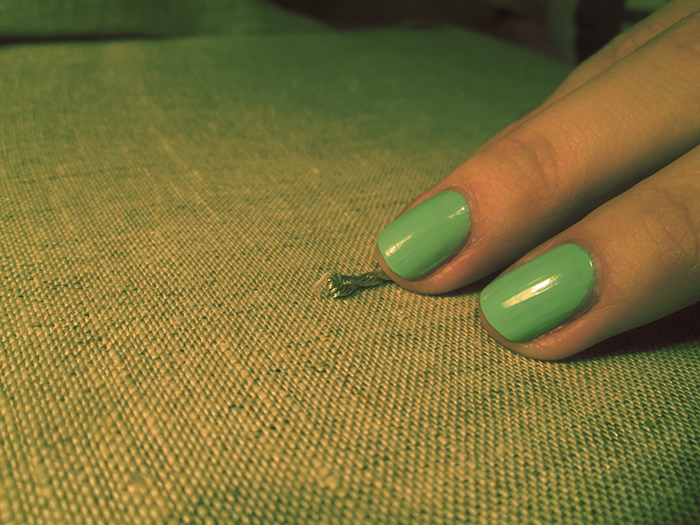
Well-twisted threads will spire by themselves and form of the Twisted Cord.
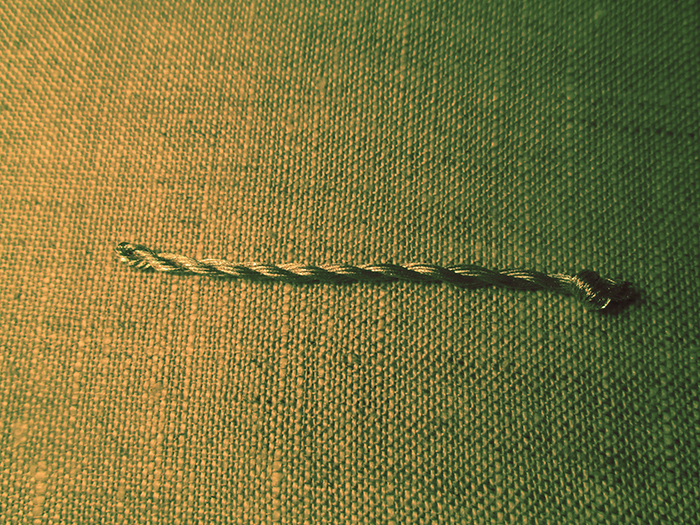
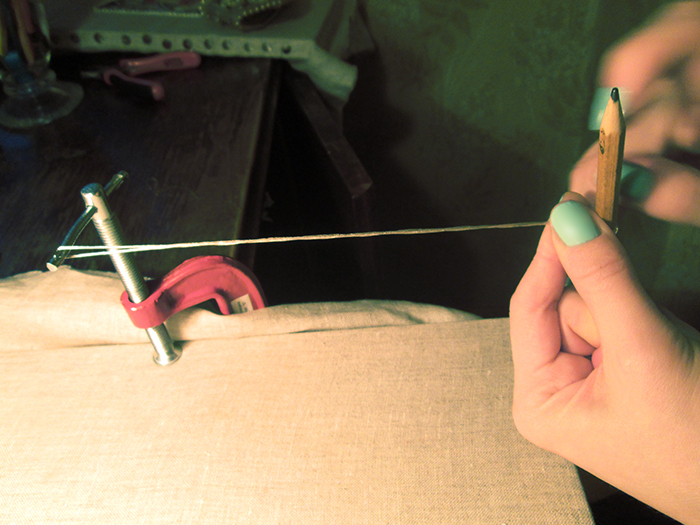
Once you developed a feeling for making the twisted threads you can easily make it in any size. I advice you to practice with 80 cm thread and please notice that the cord will be at least four times shorter then the original length of the thread.
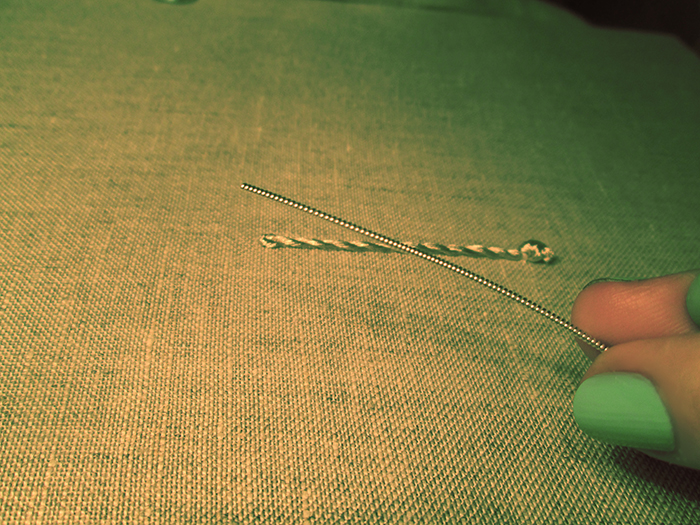
Applying the Conductive Twisted Cord


Fasten off the cord on the fabric by using the eyelet at the end of the cord
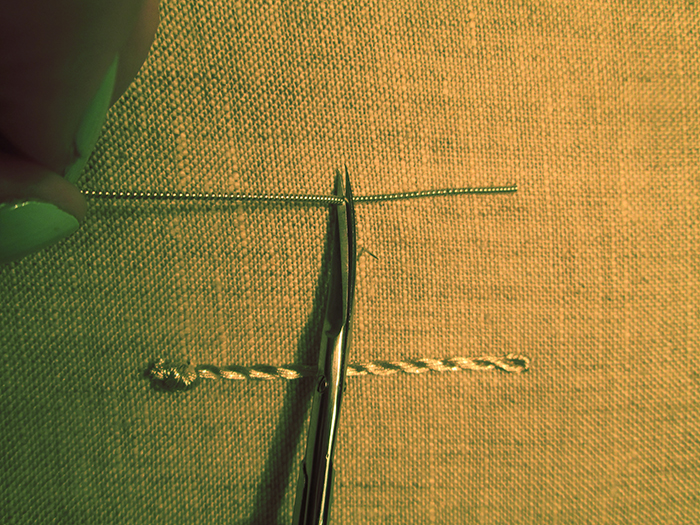
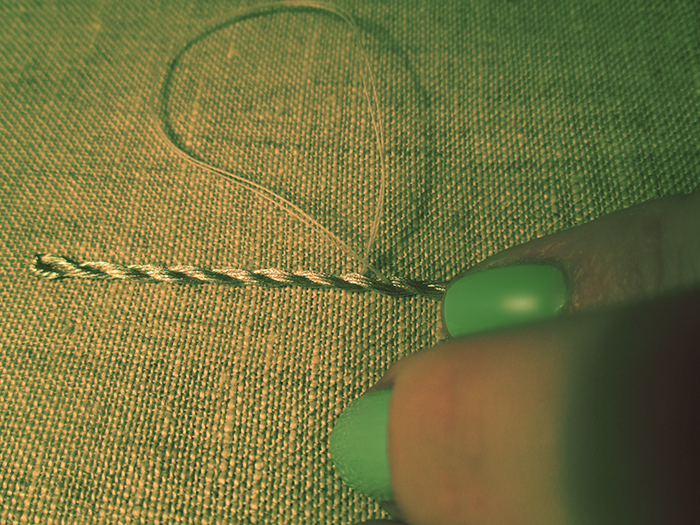 Attach the cord to the fabric trying to get the needle precisely between the cord curls. The thread has to lay parallel to the curl. Supporting thread should not be visible on the cord surface. The supporting thread must accurately enter into the cord.
Applying Pearl Purl

Fasten off the pearl purl in the fabric.
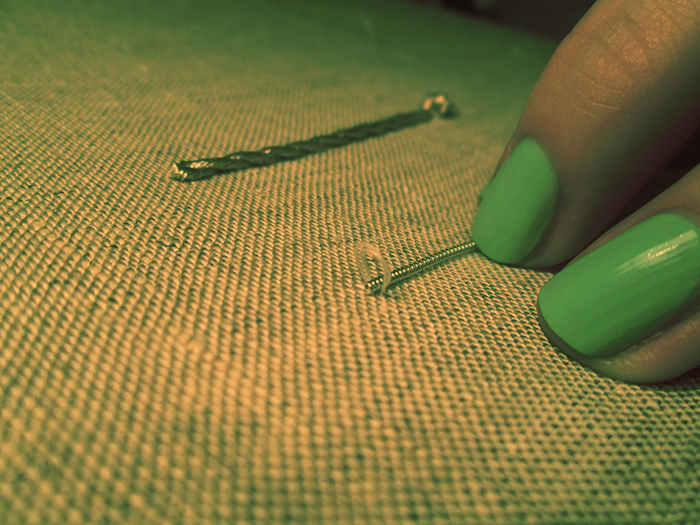
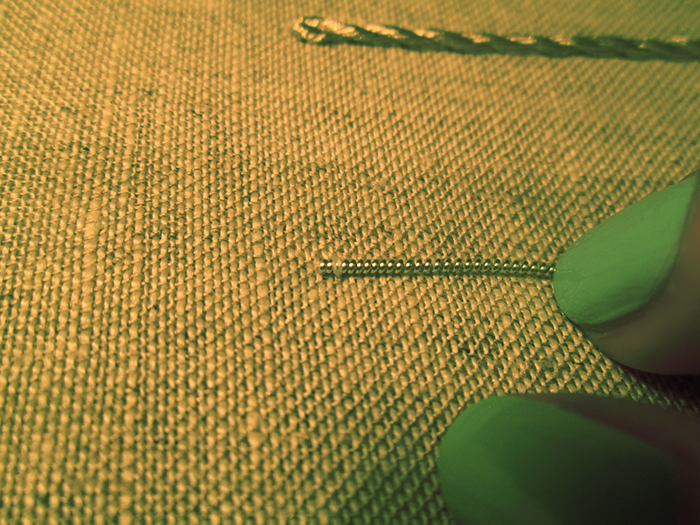
Make sure the supporting thread gets exactly into the curls of the pearl purl.
The only secret is that the supportive thread is placed deep into curls so the viewer cannot see it.
![]()
The Swedish School of Textiles
All content © 2026 by Smart Textiles Design Lab Blog